Glass Bottle Quality Inspection Guide – Complete Process Control
News September 5, 2026
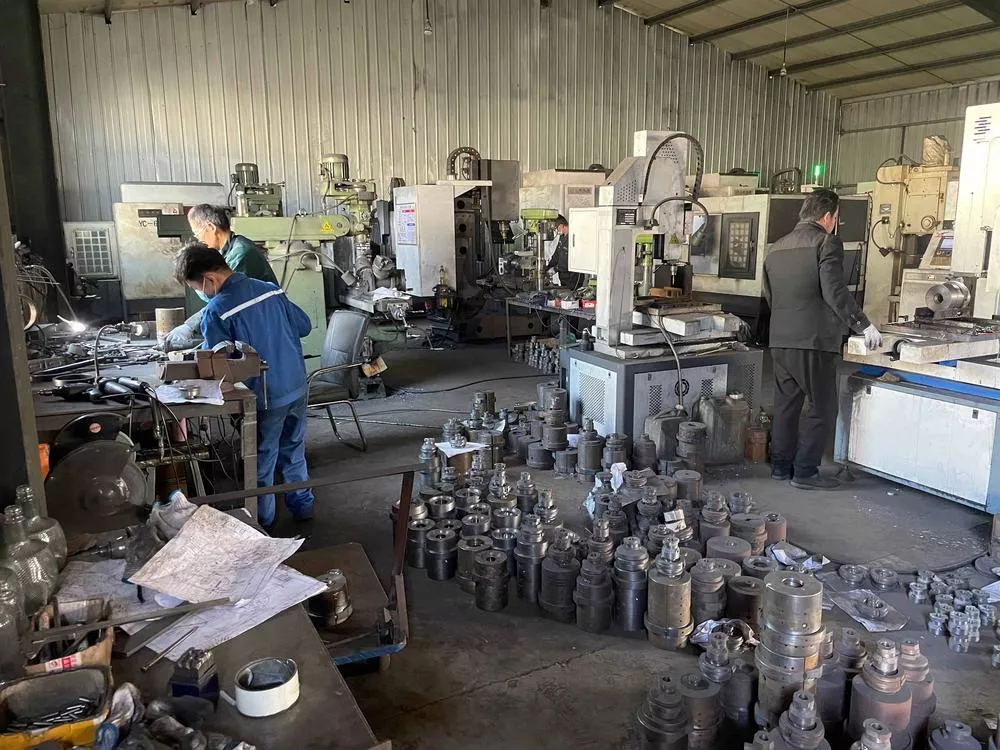
1. Mold Incoming Inspection
- Most glass bottle manufacturers produce according to customer‑supplied molds or newly developed molds from sample drawings.
- Before mold making, all critical dimensions affecting forming must be discussed and agreed with the customer.
- Upon arrival, every mold set (including finish mold, blank mold, and parison mold) shall be inspected against the approved drawings or customer specifications.
2. First‑Article Inspection (Trial Run)
- For the first 10–30 pieces produced after mold setup, take 2–3 bottles from each cavity for dimensional and specification checks:
- Inner and outer diameters of the finish (neck).
- Legibility and correctness of base lettering.
- Correctness of body pattern/embossing.
- After the bottles exit the lehr (annealing line), quality inspectors shall again take 2–3 pieces per cavity and perform full dimensional inspection per the drawing, including:
- Capacity, material weight.
- Inner/outer neck diameters (re‑checked).
- Water fill test (when required) and physical assembly with customer‑supplied closures to verify cap fit and leak‑tightness.
- Internal pressure, internal stress, acid/alkali resistance tests (as per specification).
3. In‑Process Surveillance
- If the same mold is used continuously, extract 2 bottles per cavity every 2 hours to monitor capacity and material weight, and re‑measure neck inner/outer diameters.
- Whenever a mold is changed (new or repaired), the mold shop must immediately notify the quality department, and the first‑article inspection procedure shall be repeated.
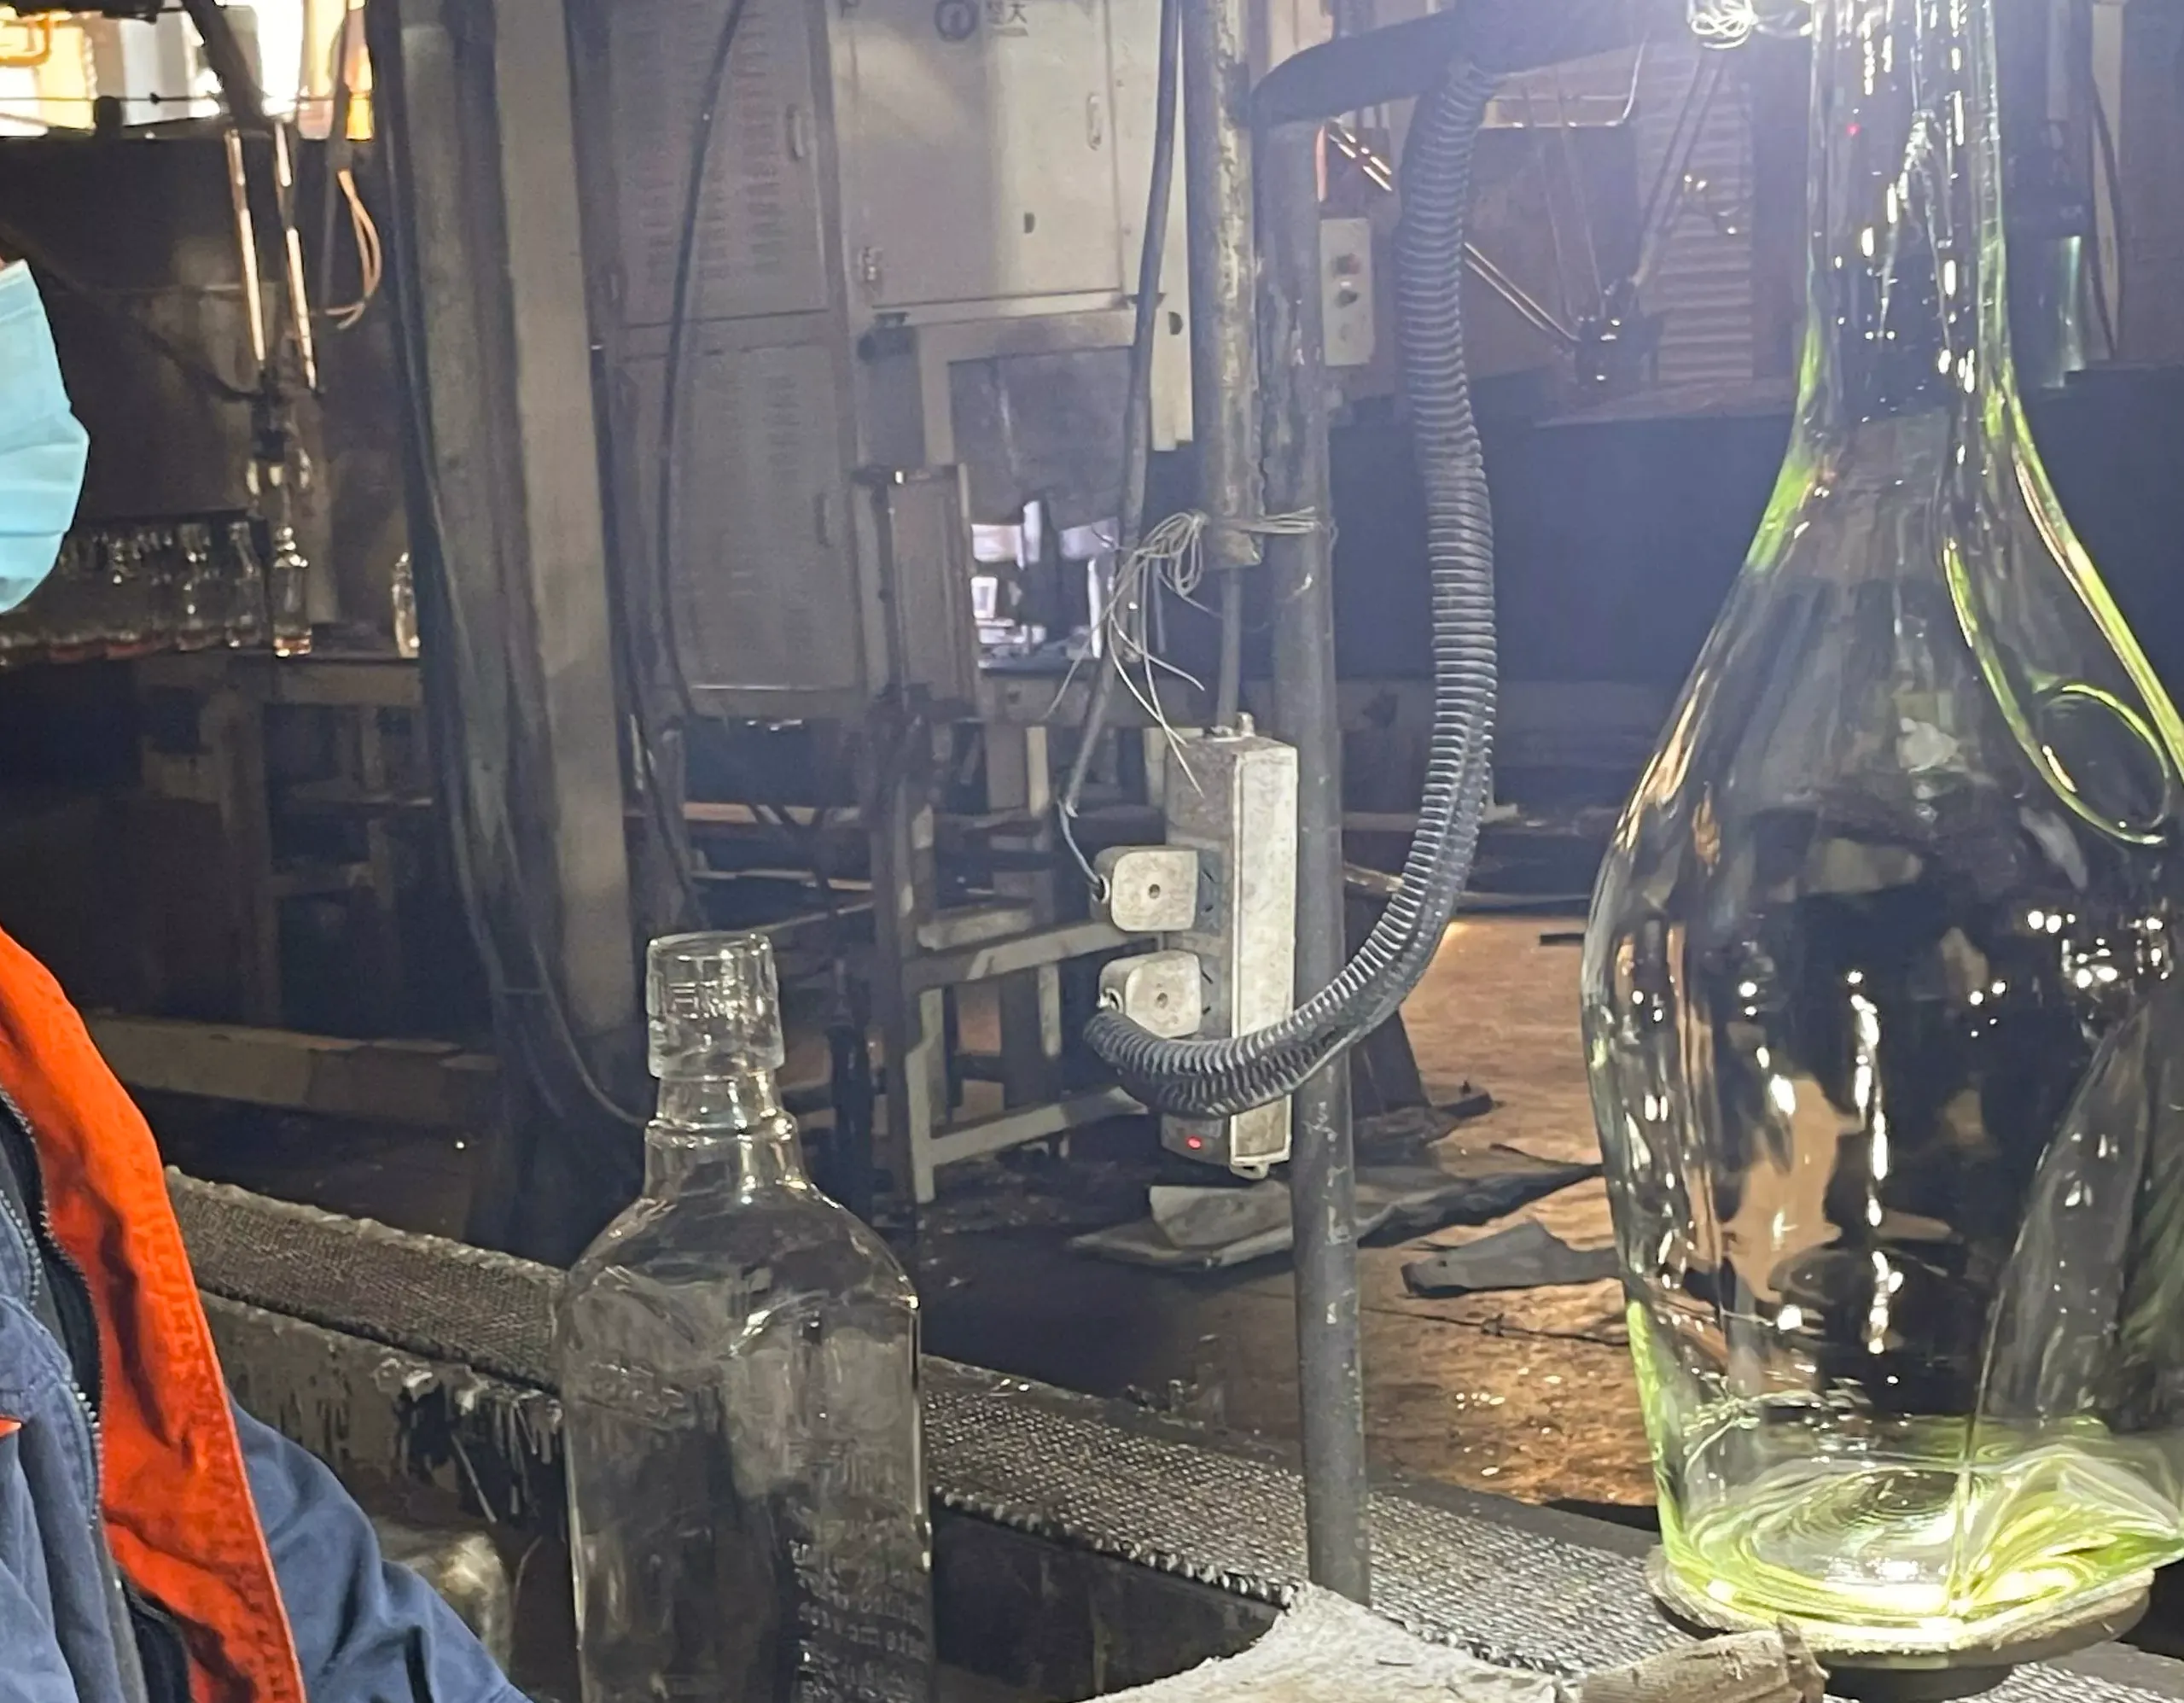
4. 100% Visual Inspection (After Lehr)
After annealing, every bottle undergoes full visual inspection. Key defects and criteria are as follows:
| # | Defect Type | Acceptance Criteria & Root Causes / Corrective Actions |
|---|---|---|
| 1 | Bubbles / Blisters | Sealing surface: no bubbles >1 mm. Body: bubbles <1 mm – max. 6 per cm²; bubbles 1–6 mm – max. 3, with spacing >20 mm. No broken surface bubbles allowed. Compare with standard bubble charts for borderline cases. |
| 2 | Crooked Neck | Caused by misalignment between finish mold and forming mold, or incomplete placement of finish mold during operation. Correct operator technique. Even if cap fit is unaffected, appearance is compromised. |
| 3 | Uneven Bottom (Tilted Base) | Uneven glass distribution at the bottom, with thickness variation up to 50% or more – downgrades product quality. Adjust forming parameters. |
| 4 | Excessive Seam Lines / Burrs | Seam line height >0.5 mm or any scratching feel is unacceptable, especially on the sealing surface. Root cause: mold not fully closed or worn – repair, polish, and re‑match mold halves. |
| 5 | Abnormal Glass Color | Color should remain stable unless recipe changes. If bluish tint appears, adjust decolorizing additives. |
| 6 | Finish Diameter Deviations & Notches | Outer diameter problems often due to oil contamination on the finish mold or worn anti‑skid teeth – causes cap slippage. Notches or loose plug fit lead to leakage. Mainly caused by too‑soft glass, too‑fast core‑pulling speed (insufficient forming), or short core – lengthen core appropriately. |
| 7 | Tilted Bottle (Off‑center Base) | Caused by excessive glass temperature (too “red”), insufficient cooling, or incomplete bottom forming. Adjust temperature and timing. |
| 8 | Thin Shoulder (common in square bottles) | Due to mold design; relies on proper glass flow and operator timing to prevent thin spots. During inspection, tap the shoulder with a rubber mallet – if weak, report immediately for correction. |
| 9 | Dull / Hazy Surface | Caused by excess mold release agent or unpolished hard‑alloy coating on the mold interior. Clean and polish molds. |
| 10 | Rough / Stone‑like Surface (Stones) | Primarily due to low furnace temperature (glass not fully melted) or too‑fast feeder speed. Reduce feeder speed, lower gob weight, and ensure proper tank temperature. |
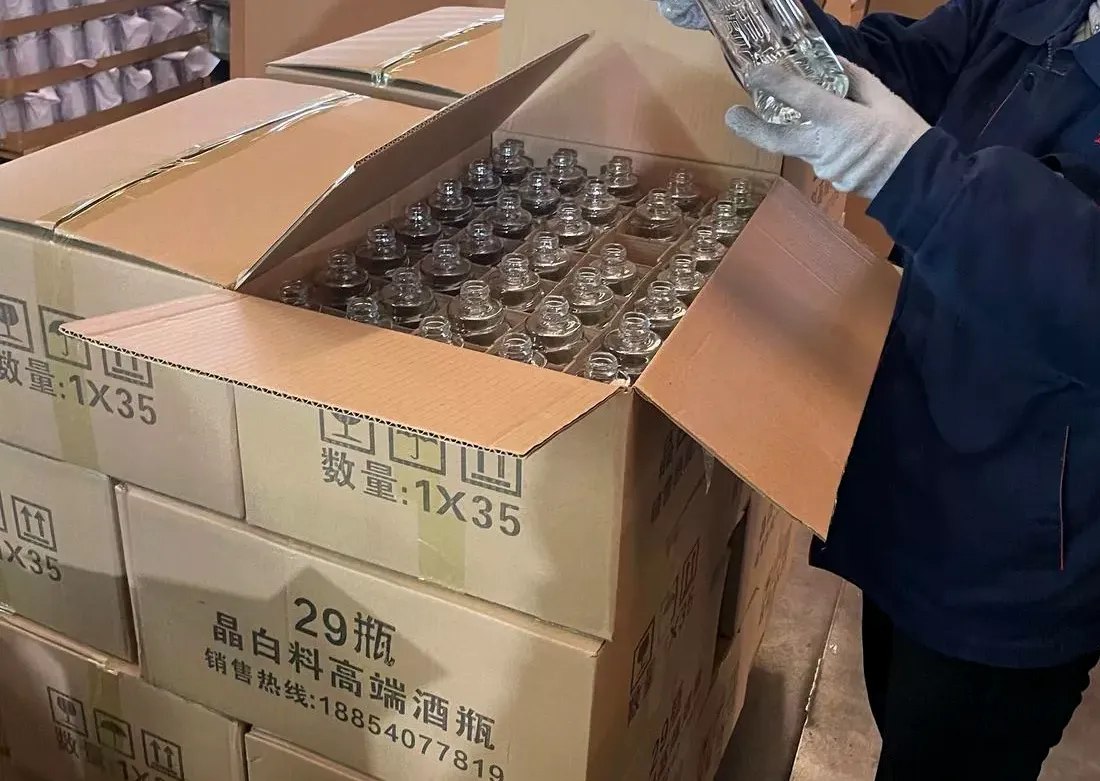
5. Warehouse Sampling Inspection (AQL Plan)
- For finished goods already packed and stored, quality management shall perform random sampling according to the AQL (Acceptable Quality Level) lot‑by‑lot sampling plan.
- Samples must be taken from top, middle, and bottom layers of the stack for representative coverage.
- Inspect strictly against the standard or customer requirements.
- Accepted lots – store immediately, stack neatly, and mark clearly.
- Rejected lots – clearly identify, isolate, and require rework; re‑inspect until they pass the AQL criteria.
6. Decal / Fired‑on Label Inspection (Post‑Decoration)
| Defect | Possible Causes & Corrective Actions |
|---|---|
| Color Fading | Excessive oven temperature, slow conveyor belt speed, or reducing reaction of decolorizer. Adjust temperature and belt speed. |
| Poor Adhesion | Besides the decal paper quality, mainly too‑low firing temperature. Different decal papers require different temperatures – adjust accordingly. |
| Blisters / Pinholes in Decal | Air bubbles not brushed out during application, or decal not fully dried before firing. Unqualified items can be scraped off with hydrochloric acid and re‑decaled. |
| Mixed Degrees / Labels | Since bottles of different alcohol strengths (same shape) may have identical decal designs, mixing can occur during application, firing, inspection, or packaging. Implement strict segregation, clear labeling, and separate workstations to prevent customer complaints. |
Note: All specified criteria (e.g., bubble size limits, seam height) are for general reference. The final acceptance limits shall be as agreed with the customer or as detailed in the product drawing.